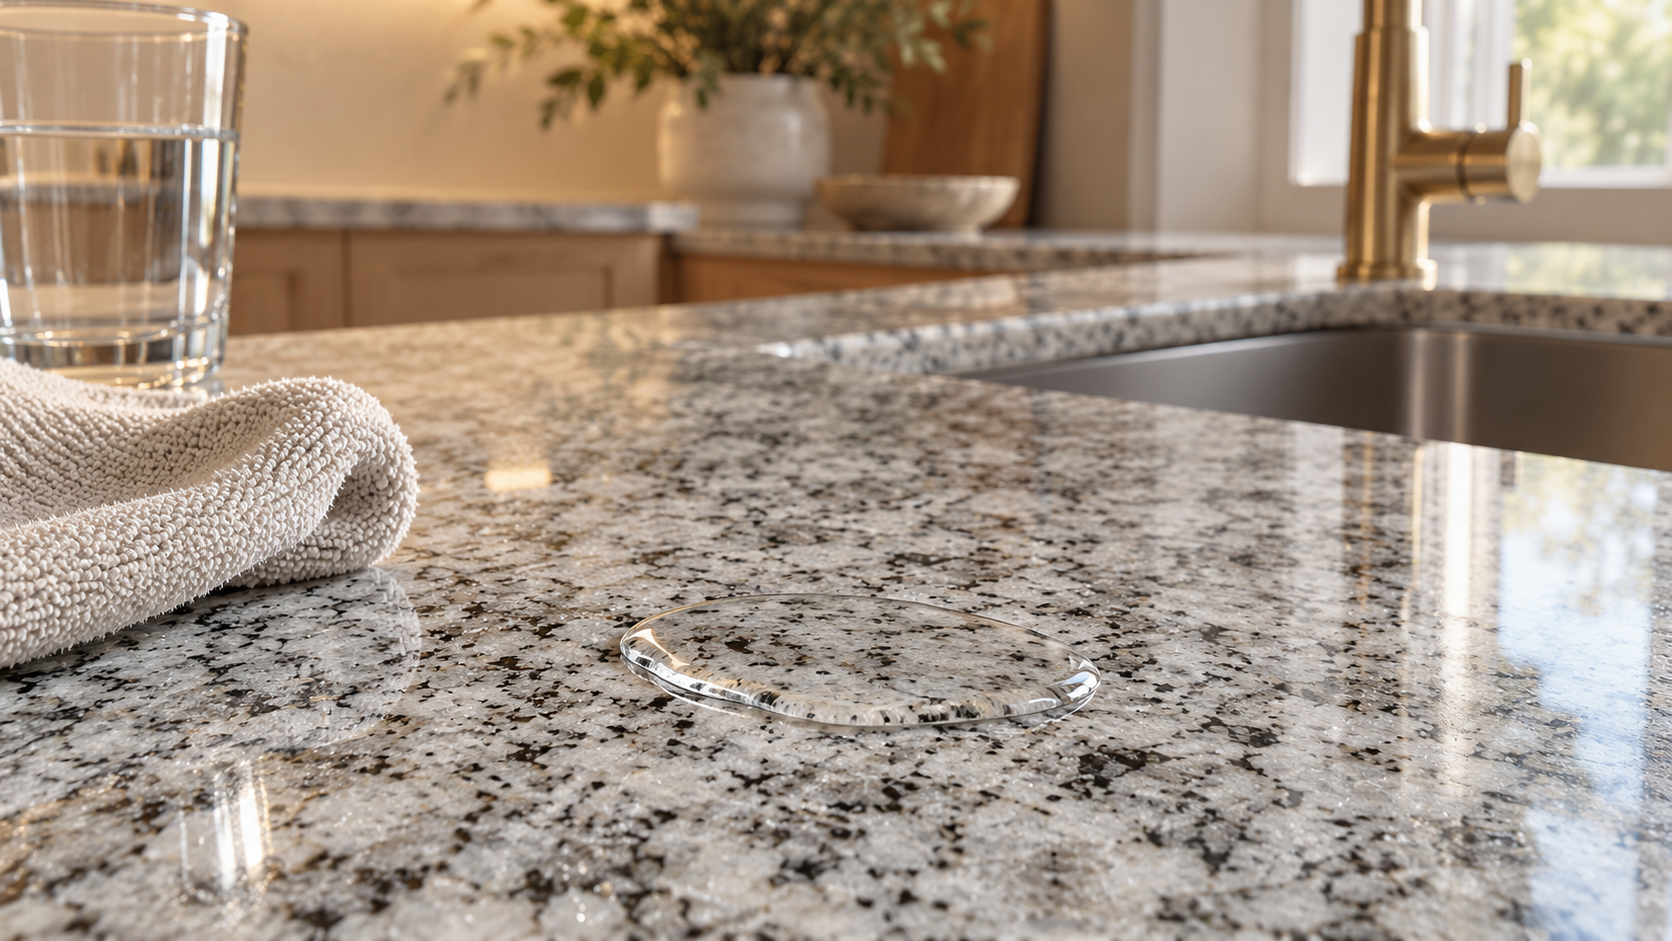
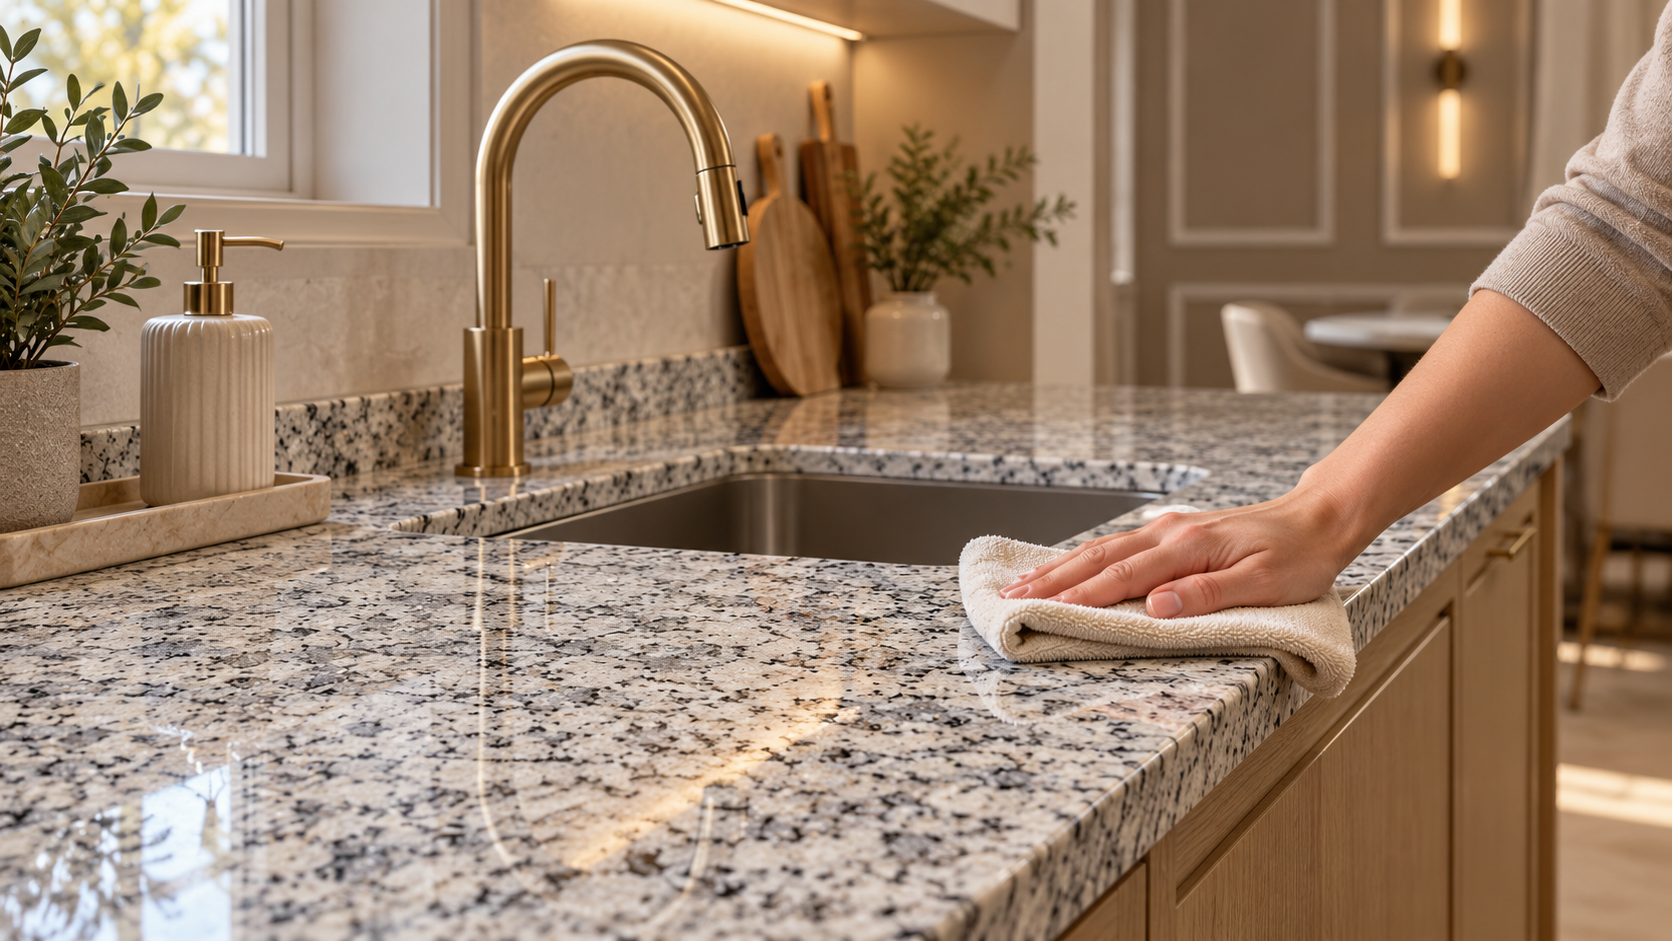
Black granite gives a kitchen stronger definition. White granite brings a lighter base that shows off its mineral movement.
Choosing black vs white granite countertops starts with the atmosphere you want, then moves to the finish you will live with. Picture the room in daylight and after the pendants come on.
The shade should feel right in both. Compare each slab against your cabinetry, and check its care needs before choosing the finish you will see every day.
Black vs. White Granite Countertops in the Finished Room
Compare both shades against the same cabinet sample. That side-by-side view tells you more than two inspiration photos taken in different homes.
With light cabinetry, black granite gives the countertop a clear outline. Pale doors sit below a darker horizontal surface, and the contrast makes the counter’s shape easy to see.
A quiet slab lets the cabinetry and hardware remain part of the design. White granite creates a gentler transition, with its flecks and mineral lines adding detail where the colors meet.
With warm wood, black brings depth and a more pronounced division between cabinet and stone. Creamy white granite carries warmth across the room, particularly when it has small brown or gold mineral details.
Compare those details with the wood’s grain. You want a relationship between the materials without a close match that looks slightly wrong.
With dark cabinetry, a pale slab keeps the counter visible as a lighter surface. Black granite creates a deeper, more continuous effect. That darker pairing deserves careful lighting, especially around prep areas, so the finish remains clear and the work surface useful.
White granite has several personalities of its own. Some slabs have a soft cream base; others lean cooler, with gray mineral movement. See our white granite slab styles before treating white as one uniform option.
Look beyond the base color. A black slab with broad pale streaks may command more attention than a finely patterned white one. The movement changes what your eye follows across the counter.
Finish changes the experience, too. A polished surface reflects the pendants overhead.
A honed finish gives a quieter reflection, while texture adds detail visible at close range. Compare the available finishes under similar lighting.
Finally, step back to the doorway. The kitchen should work as a whole from the place you enter it, as well as from the place you prepare dinner. Choose the shade that gives the stone the role you want it to have.
Compare the Care You Will Notice Day to Day
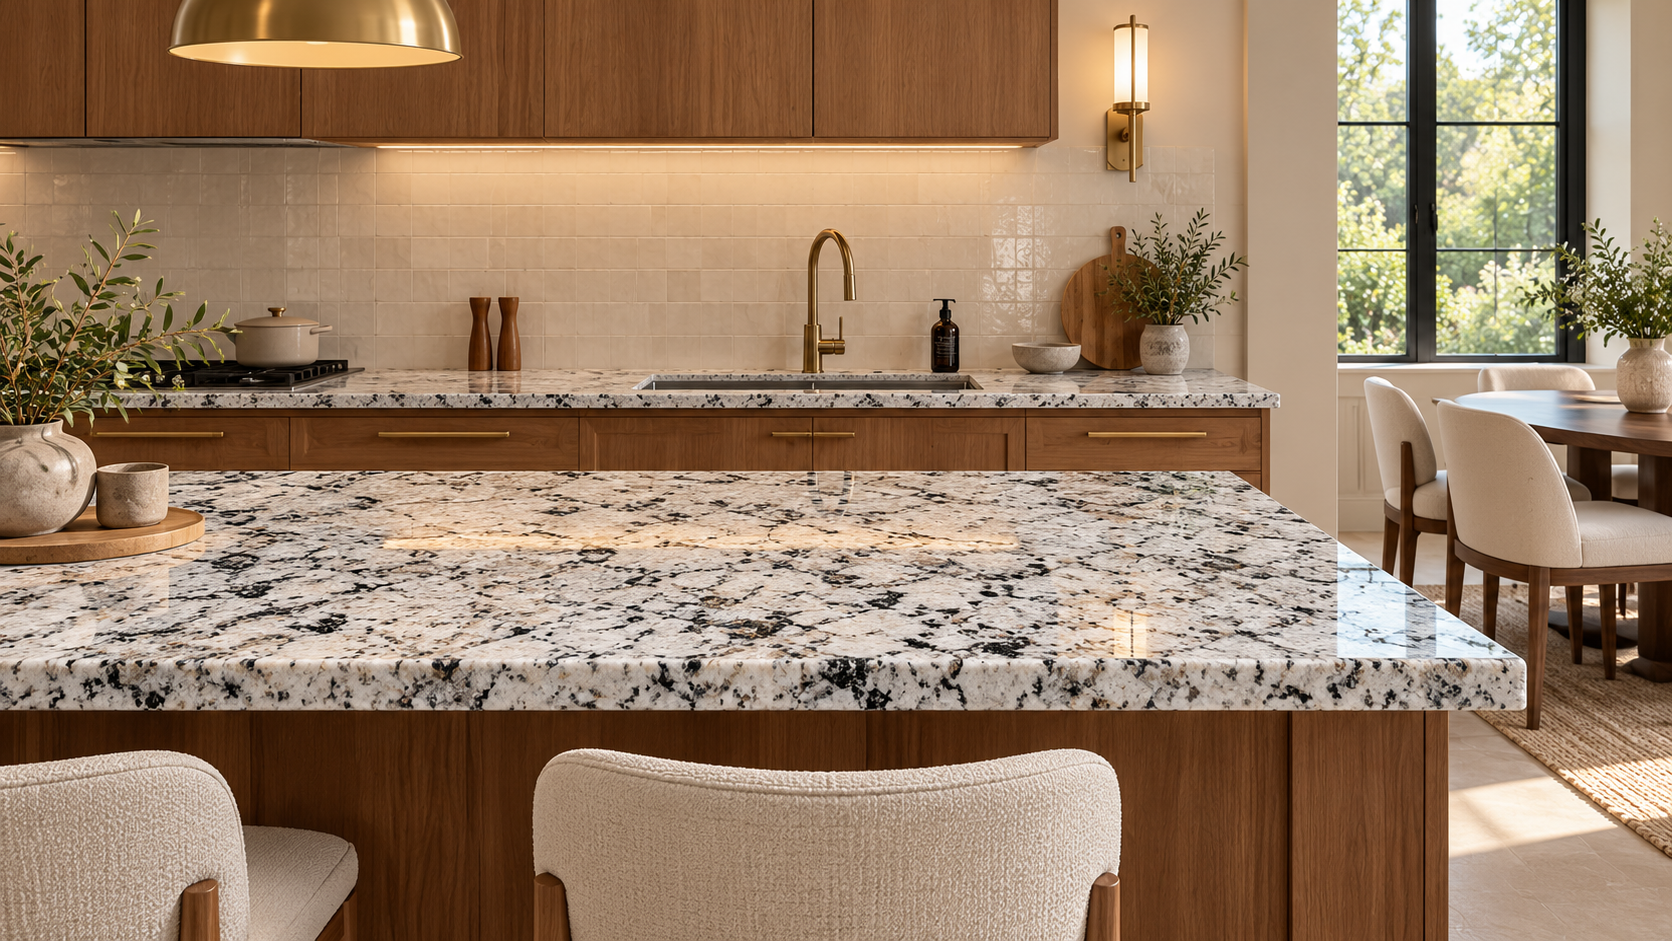
Black and white granite often make different marks more visible. That is a separate question from how readily the stone absorbs a spill.
On some dark polished surfaces, dried water or soap residue leaves a pale mark you notice quickly. Fingerprints can catch the light, especially along a peninsula where people rest their hands. A dark slab with mineral variation may disguise those marks differently from a more uniform black surface.
White granite can make a colored spill stand out sooner. Dense flecking may hide crumbs that remain obvious on a quieter slab. That does not make white granite less durable or establish that it absorbs more liquid.
Think about your own threshold for visible marks. If you want the kitchen to look freshly cleared after dinner, inspect how the finish looks under the evening lights. You will be living with that view more often than the bright showroom view.
Daily care remains straightforward for both shades. Use an approved gentle cleaner, wipe spills promptly, and remove cleaner residue.
Drying around the faucet helps limit visible water deposits. Cutting boards and trivets also belong in the routine, whichever color you choose.
Ask about sealing for the actual stone. Some dense materials need little additional treatment, while more absorbent slabs benefit from a compatible penetrating sealer.
Color alone cannot set the schedule. The Natural Stone Institute’s care guidance explains why sealing improves stain resistance without making stone stain proof.
Before choosing, ask what the proposed finish requires to stay looking the way you expect. A finish you enjoy caring for is a better investment than one you admire only in a photograph.
Judge Durability and Price by the Slab, Not the Shade
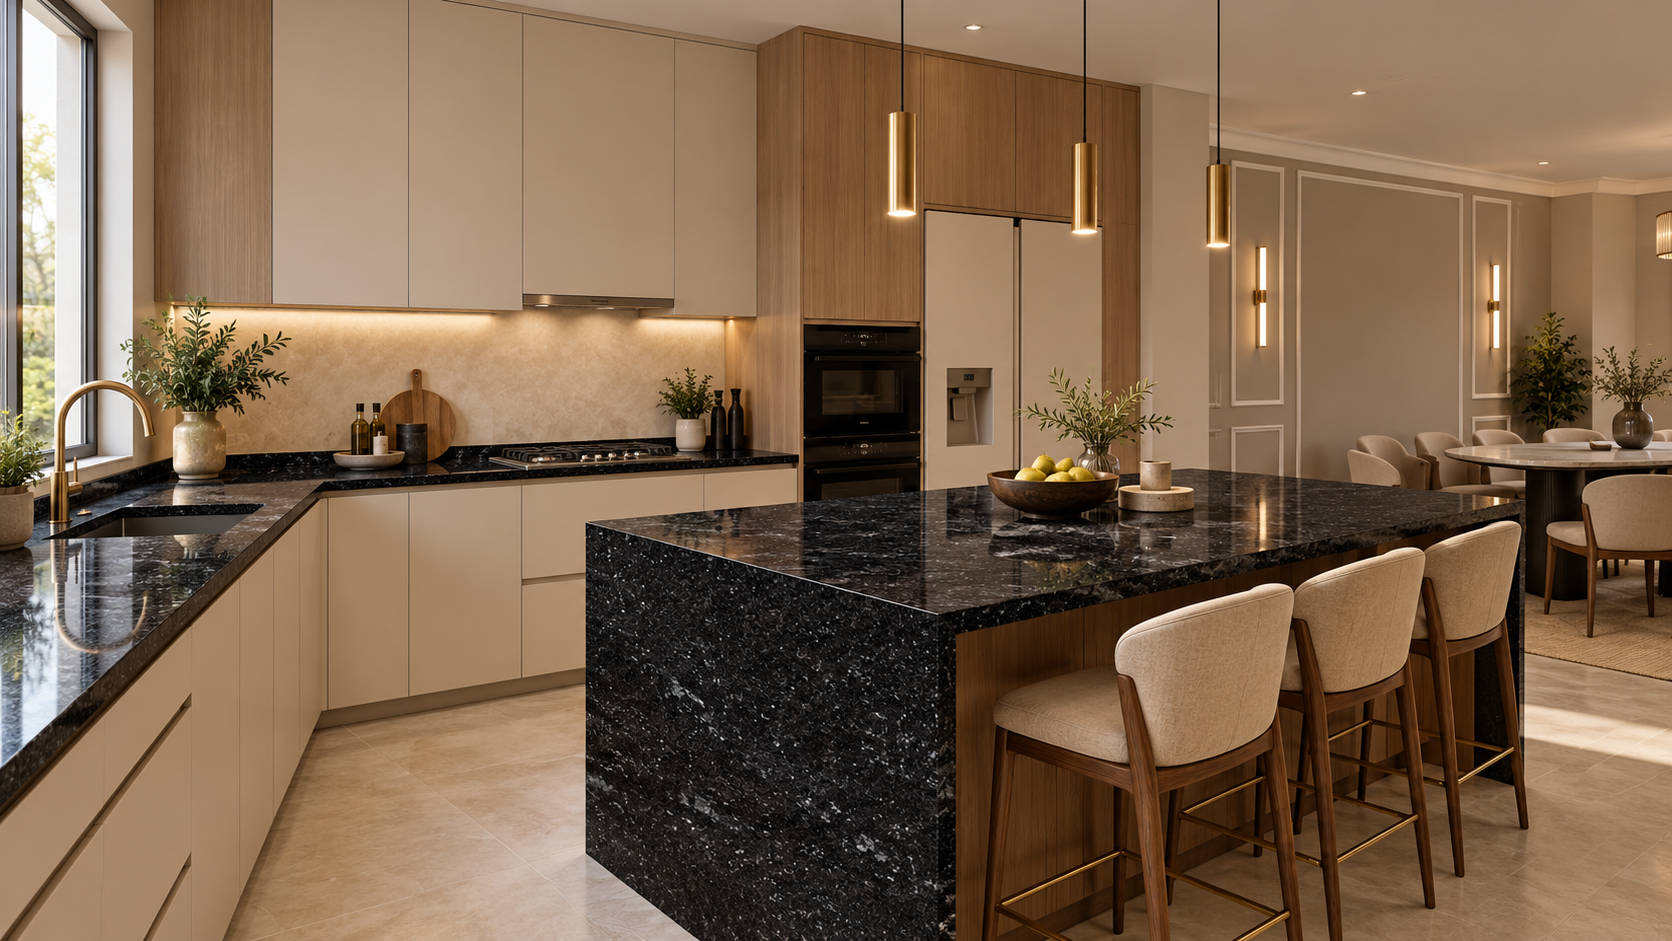
A black appearance does not prove that a slab is stronger than a white one. The actual stone’s properties and the way the counter is fabricated determine its suitability for the kitchen.
Ask about the specific material and finish. Discuss absorption and the care guidance that will accompany it. Review exposed corners and cutout areas as part of the installation plan, since a hard impact can damage an edge on either shade.
The same specific-slab approach applies to price. Commonly available black granite may cost less than a distinctive white slab.
A rare dark stone can cost more than a readily available pale one. The color category cannot tell you which quote will be higher.
Compare complete installed scopes, including:
- The actual slab and the material required for your layout.
- Thickness and the chosen edge profile.
- Sink and appliance cutouts.
- Backsplash or waterfall details, where included.
- Fabrication and installation, with removal identified separately if needed.
Strong directional movement can change how efficiently the pieces fit on a slab. Keeping a particular mineral line across an island may require a different layout from a quieter pattern.
Our guide to what changes your installed granite price explains those details. Compare the two stones you would genuinely choose, with the same finished scope, before treating a difference in price as a difference in quality.
Compare Both Slabs Before You Choose
Bring your cabinet finish and clear kitchen photos to Bellezza Artisan Stone Surfaces in San Antonio. A rough layout helps us discuss where the stone will appear and which part will be most visible.
Compare a dark direction with a light one against those references. Look at the whole slab, then consider the finish and care it requires. The choice should feel clear before the pattern moves into the fabrication plan.
Explore our granite countertops in San Antonio, and arrange a consultation to compare granite slabs for your home. See how each option works with the room you are creating, while you still have time to adjust the design.
Frequently Asked Questions
Is Black Granite More Durable Than White Granite?
Black granite is not automatically more durable than white granite. The specific stone and its properties matter more than the shade label.
Both colors can serve a working kitchen when the selected material suits the application and the installation supports it correctly. Ask about the actual slab’s care requirements and any finish-specific guidance. Protect exposed edges from hard impacts, and use cutting boards and trivets rather than relying on the stone’s appearance to predict performance.
Which Shows More Marks, Black or White Granite?
Some black finishes show pale water residue and fingerprints clearly, while white granite can reveal colored spills. Pattern and lighting change how visible those marks become.
Inspect the finish under an angle of light similar to your kitchen. A varied pattern may disguise small marks differently from a uniform surface. Keep visible marks separate from staining: something sitting on top may clean away, while an absorbed stain needs a different assessment and treatment.
Can Black Granite Work in a Small Kitchen?
Yes. Black granite can define a small kitchen when lighter surrounding finishes and useful lighting balance the dark surface. A restrained pattern keeps that contrast easier to manage.
Review the room from the doorway before deciding. If the cabinets, floor, and backsplash are also dark, the combined effect will feel different. Look at the actual slab with those finishes, and decide whether the countertop should create contrast or continue a darker palette.
Is Black Granite More Expensive Than White Granite?
Either shade can cost more. Availability and the individual slab affect the material price, while layout and fabrication shape the installed total.
Compare quotes for the stones you want, with the same thickness and edge profile. Include cutouts and any backsplash work, then check how much material each layout requires. A color-based price assumption is less useful than seeing what each complete project includes and why the two totals differ.