

To seal granite countertops, first confirm that the stone needs treatment. Then clean the surface, test a compatible penetrating sealer, apply it as directed, and remove the excess before it dries.
Allow the full cure time on the product label. Knowing how to seal granite countertops protects the appearance you chose without unnecessary treatments.
Daily care stays simple, too. Here is how to check your stone and keep it looking right through everyday cooking and cleanup.
Check Whether Your Granite Needs Sealing
Begin with the care information from your installation. Find out which treatment your fabricator applied and what product they recommend for future care. Granite varies in absorption, and an existing treatment can affect what the surface needs next.
The Natural Stone Institute explains that some stones do not need sealing. Where a penetrating sealer is appropriate, it improves stain resistance. Spills still need prompt cleanup.
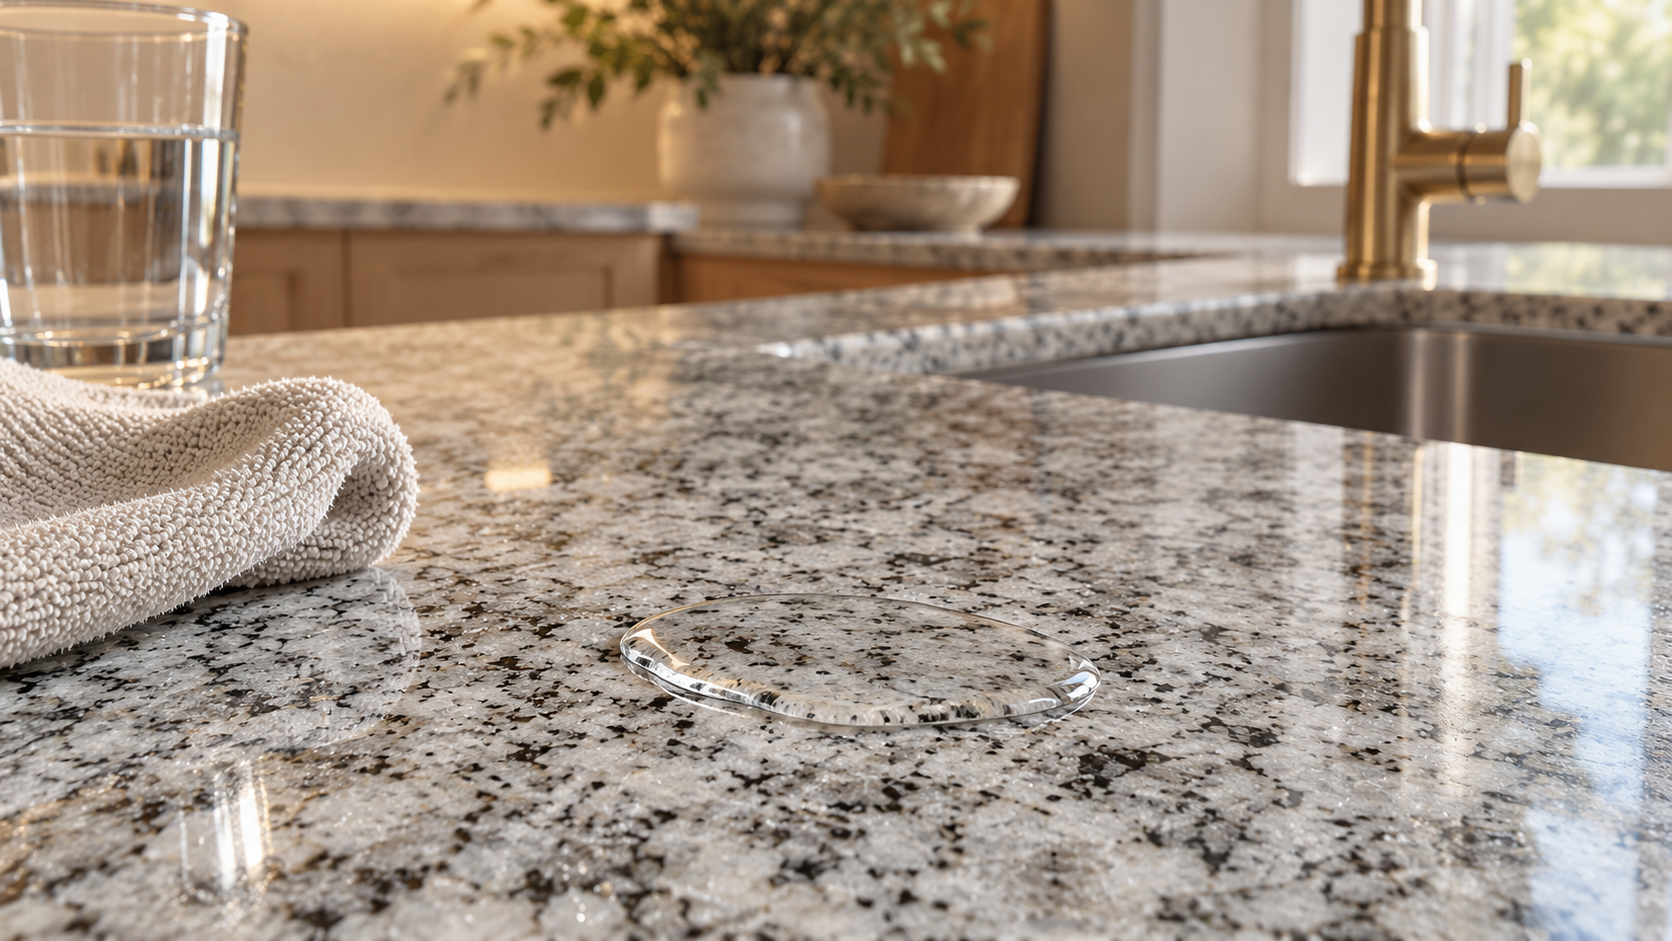
A small water check helps you notice absorption:
- Choose a clean, inconspicuous area.
- Place a small amount of water on the stone.
- Observe whether the area beneath it darkens, then blot it dry.
- Allow the area to dry fully before checking the result.
Temporary darkening suggests the stone absorbed moisture. Ask your fabricator whether it needs resealing, especially if the absorption has changed. The check alone does not establish a resealing schedule or guarantee resistance to oil and other spills.
Water beading also has limits. Surface residue can change how droplets sit, so avoid deciding from their shape alone.
If you see a persistent stain, cloudy patch, or unknown coating, address that first. Another layer of sealer will not resolve every surface issue. Our granite ownership guide covers the care tradeoffs to understand before choosing the material.
How to Seal Granite Countertops Step by Step
Once you have confirmed that treatment is appropriate, gather the compatible sealer and its instructions. Keep clean, lint-free cloths ready, along with the recommended applicator and protective equipment.
The application method belongs to the product you choose. Read its label before starting, including preparation requirements and the time needed before the kitchen returns to use.
- Confirm the Product Suits Your Stone and Finish
Choose a penetrating sealer recommended for the installed granite. Check that it suits a food-preparation surface once cured.
If you want to preserve the slab’s appearance, confirm that the product provides a natural-look treatment. An enhancing sealer can change the color. Also check compatibility with any treatment already present. - Clear and Protect the Work Area
Move appliances and food away from the counter. Protect adjacent surfaces as the product instructions require, and provide the specified ventilation.
Keep the sink area clear so you can work around the cutout without spreading product onto fixtures. Use the gloves or other protective equipment listed on the label. - Clean and Prepare the Counter
Remove crumbs and surface residue using an appropriate cleaner. Rinse if the cleaner requires it, then prepare the stone to the sealer’s moisture requirements.
Some products require thoroughly dry stone. Follow the selected product rather than assuming that a surface which feels dry is ready for every treatment. Resolve stains before application. - Test an Inconspicuous Spot
Apply the product to a small, discreet area using the manufacturer’s method. Allow the specified assessment time before treating the whole counter.
Look for an unexpected color change or residue. A successful test matters most when the finish or earlier treatment is uncertain. If the result looks wrong, stop and ask for guidance. - Apply in Manageable Sections
Use the recommended applicator to distribute the sealer evenly. Work in sections you can finish within the stated application window.
Where the product requires a dwell period, allow that time for penetration. If the label says to keep the area wet with sealer, do so for the stated time. Do not substitute the timing from a different sealer’s instructions. - Remove the Excess Before It Dries
Wipe away unabsorbed product with clean cloths as directed. Check the surface from an angle so streaks are easier to see.
Avoid leaving a coating on top of the stone. Follow the product’s instructions for any additional coat, including its timing. Adding more simply because you have product left over can create residue. - Allow the Specified Cure Time
Keep the treated counter out of normal use for the time stated on the label. Follow its restrictions on spills and cleaning during the cure.
A dry-looking surface may still be curing. Plan the task around that wait rather than treating the countertop just before cooking. LATICRETE’s STONETECH product guidance is one manufacturer resource; use the instructions for your actual product.
Keep Daily Care Simple and Reseal When Needed
A granite kitchen should feel comfortable to use. Its care routine belongs alongside the habits you already have after cooking.
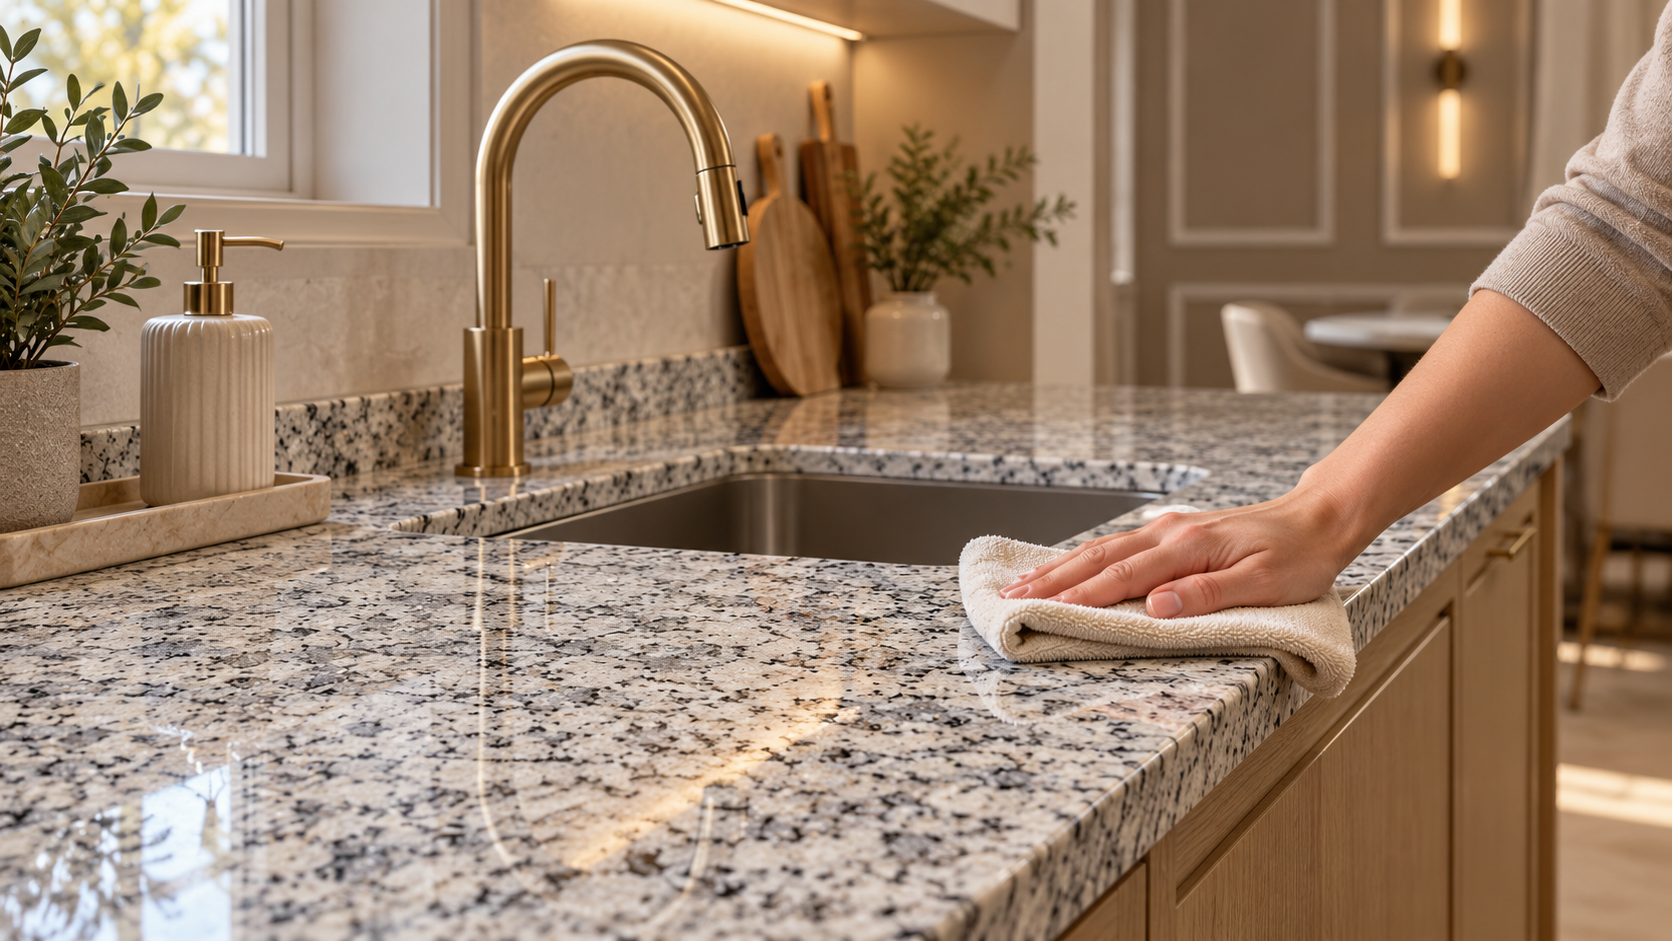
Use a cleaner approved for natural stone and a soft cloth. If your care guidance allows mild soap and water, use a small amount of soap and rinse away the residue. Dry the surface so the stone’s finish shows clearly, without streaks.
Blot spills promptly, particularly around bottles of oil or colored drinks. Use a cutting board during food preparation and a trivet beneath hot cookware. Granite handles normal kitchen heat well, but protecting the surface avoids unnecessary stress and protects the treatment, too.
Pay attention around the sink. Standing moisture beneath a soap dispenser can leave a different pattern of wear or residue from the open counter beside it. Wiping that area dry takes little effort and keeps deposits from building up.
The Natural Stone Institute’s granite care article discusses daily cleaning and the way resealing needs vary with use and product.
Reassess protection according to your fabricator’s guidance and the sealer instructions. If absorption changes, investigate before applying more treatment. A dull-looking area may have cleaner residue or a finish issue; it does not automatically mean the sealer has worn away.
The goal is to preserve the mineral detail and finish you selected while keeping the counter ready for everyday use.
Know When to Stop and Ask for Stone-Specific Guidance
Persistent haze after sealing calls for a closer look before you add another product. Unabsorbed sealer can dry on the surface, but an incompatible treatment or older coating may cause a similar appearance.
Write down the product you used and when the change appeared. Photograph the area in even light, then from an angle that shows the haze. Those details help your fabricator or the product manufacturer understand what happened.
Pause when you notice:
- A stain that remains after gentle, approved cleaning.
- An unexpected color change after the test application.
- A sticky or streaked surface after treatment.
- A damaged edge or crack that needs assessment.
Avoid experimenting with solvents or abrasive pads to force the finish back. The right next step depends on the cause and the stone.
Sealing slows absorption where a compatible treatment is appropriate. It does not repair a crack or replace professional refinishing.
It also does not prevent etching on acid-sensitive minerals. Keeping those jobs separate protects you from buying a product for an issue it cannot solve.
Protect the Granite You Chose With the Right Care
You chose your granite for the way it looks across the room and the detail you see up close. The right care keeps that appearance part of your everyday kitchen.
If you are unsure about a treatment, share the slab name and finish with Bellezza. Include the care sheet, if available, and the product you have used. We can discuss care guidance for the surface before you apply something new.
Contact Bellezza with your granite-care questions. If you are still choosing your stone, explore our granite countertops in San Antonio and bring care expectations into the selection conversation.
Frequently Asked Questions
How Often Should Granite Countertops Be Sealed?
Reseal according to the needs of the actual stone and the product used. Granite absorption varies, and some surfaces may need little additional treatment.
Start with your installation care sheet. Follow the sealer manufacturer’s recommendations and review any change in how the surface absorbs moisture.
A simple water check offers a useful observation, but it should support stone-specific guidance. Avoid automatically applying more sealer every year when the counter does not need it.
Does Black Granite Need Sealing?
Some dense black stones need little or no sealer, while others benefit from a compatible treatment. The dark color alone cannot establish the right care routine.
Confirm the specific material and finish with your fabricator. Ask what treatment, if any, was applied during installation.
If you are unsure whether the surface absorbs moisture, discuss a discreet water check. Do not apply sealer solely because a care guide assigns one schedule to every granite color.
How Long Should I Wait Before Using Granite After Sealing?
Follow the cure and return-to-use instructions on the specific sealer. Different products have different requirements, and a counter that feels dry may not have reached its full cure.
Check those instructions before you start so the wait fits your household’s plans. Keep food preparation and spills away from the treated area for the required period. If the label distinguishes light use from full use, follow both stages rather than relying on appearance alone.
Does Granite Sealer Make the Surface Shiny or Stain Proof?
A natural-look penetrating sealer improves stain resistance while preserving the intended appearance. It does not restore a worn polish or make the countertop stain proof.
The finish gives the stone its polished, honed, or textured appearance. An enhancing treatment may alter the color, so confirm the product type before applying it. Clean spills promptly even after sealing, and have unexplained dullness assessed before assuming another coat will bring back the shine.